How to schedule the background job?
SM36 can be used to schedule the background task. You can schedule immediate or planned tasks.
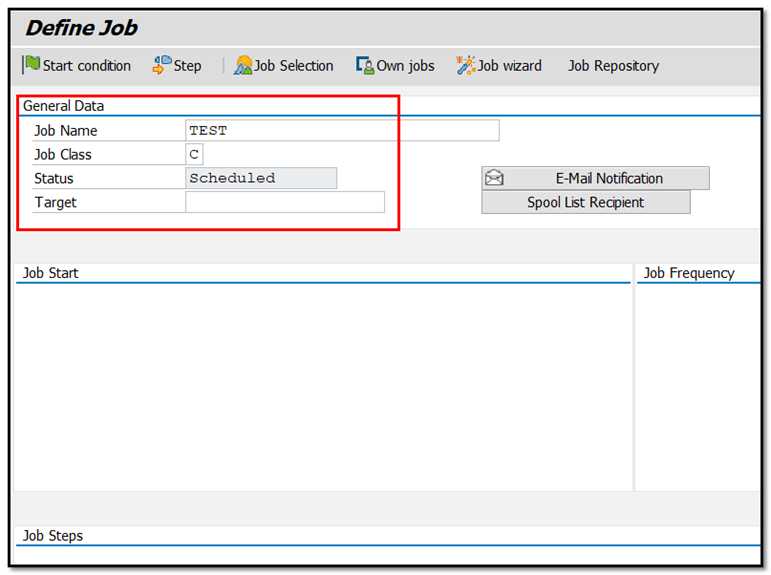
Step 1: Execute T-code SM36.

Step 2: Fill in the target server, priority (A, B, or C), and job name. Once scheduled on a target server, background tasks are executed on that server. Workload balancing is the primary reason for defining the target server.
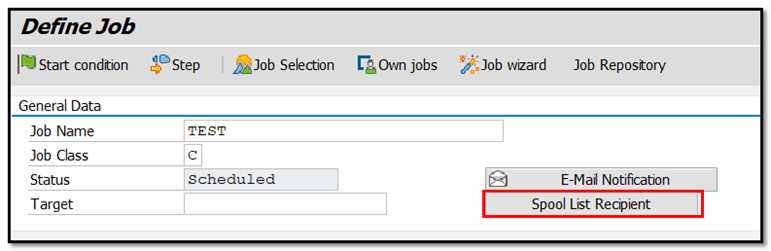
Step 3: Go to "spool list recipient". The output will arrive in your mailbox. From SBWP, you can check your email.
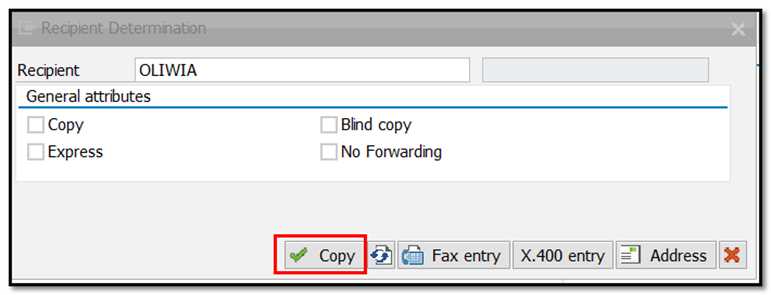
Step 4: Once you've entered your SAP username, press the copy button.
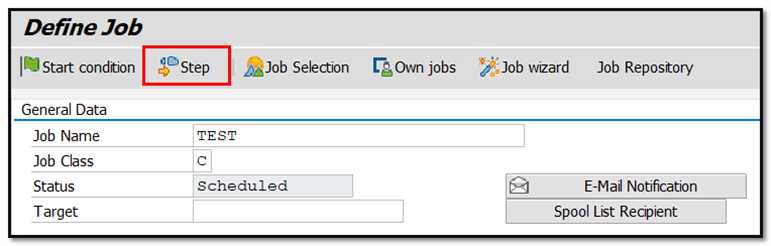
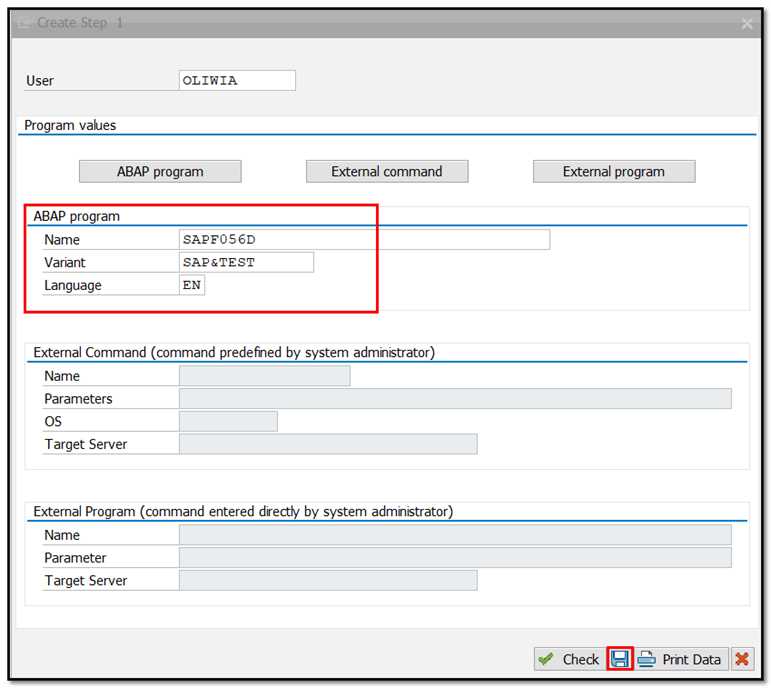
Step 5: To define the ABAP program, variant's details, etc., click the Step button.
Step 6: Give the name of the program and specifics variant.
In the field, type the name of your application or variant. Leave it blank if you haven't produced a version that meets your needs. Click the save button.
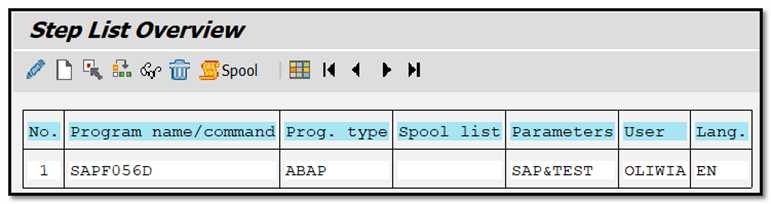
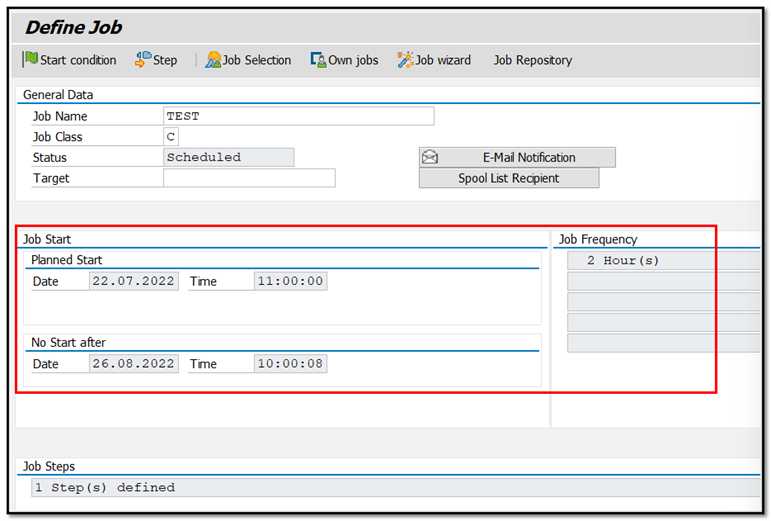
Step 7: After you schedule the work, the screen below will appear.
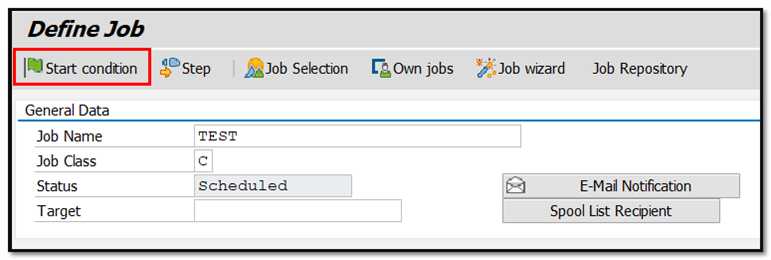
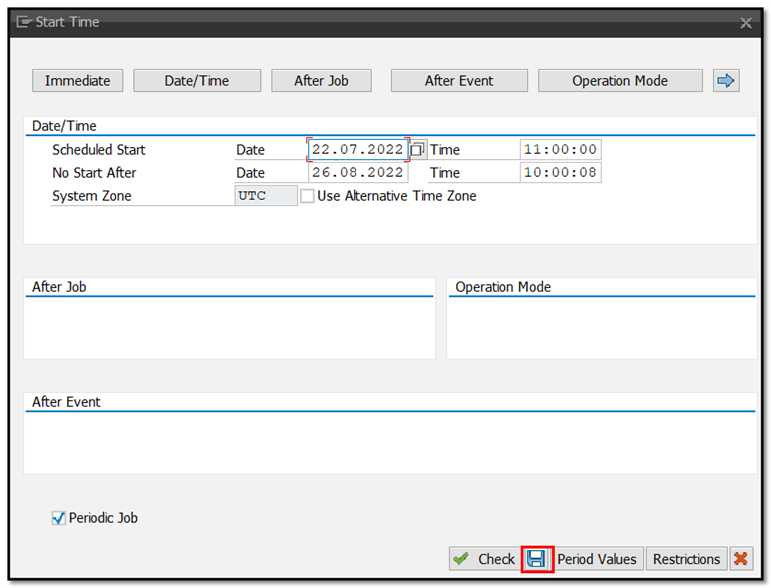
Step 8: To enter the job's start date, end date, frequency, etc., click Start conditions. The work will always be in the scheduled status if you don't specify a start condition. A work that is scheduled won't ever run.
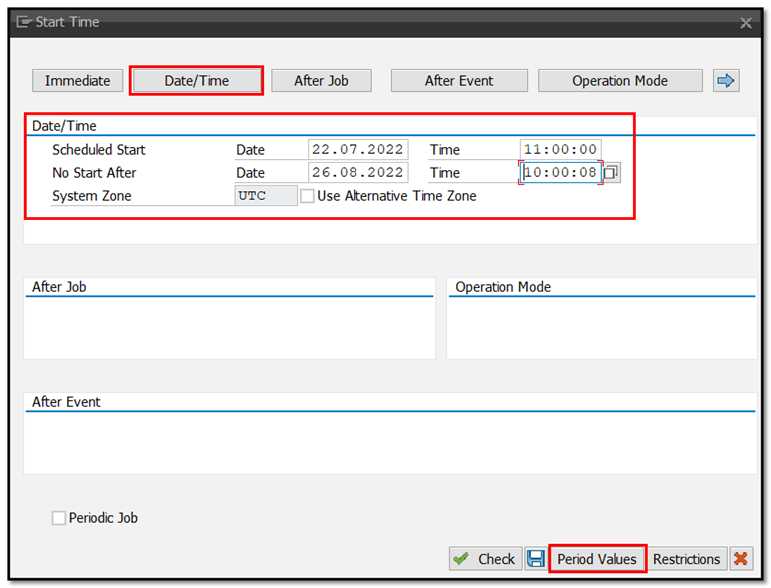
- Select Date/Time (For periodic jobs). If "Immediate" is selected, the job will begin running immediately. But it won't be designated as a recurring task. Similar to "press and run,"
- Set the start and finish times for the job. Only after the job starts and ends on schedule will it be released.
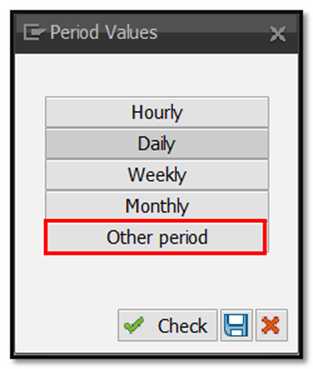
- Click period values.
Step 9: In order to define the frequency of the job according to your requirements, click on Hourly/Daily/Weekly period. We'll choose here Other Period.
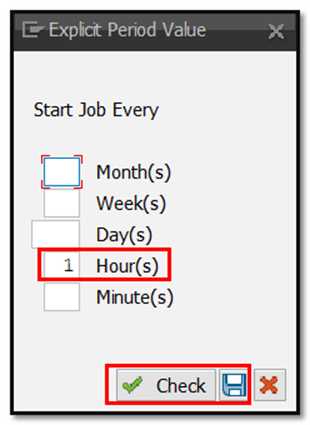
Step 10: Here, you list the job's recurring requirements. For instance, you may schedule the job to run every five days starting from the start date. Here, we choose to run this task every 1 hour. You can click “Check” button and then save.
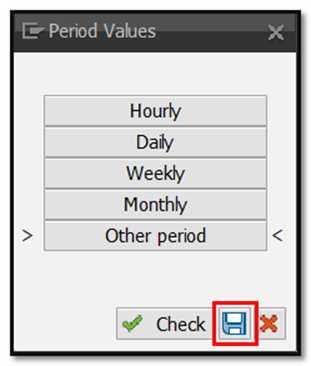
Step 11: Save the settings once again.
Step 12: Click save again
Step 13: The following window will show once the job step and start conditions have been established. You can now save it.
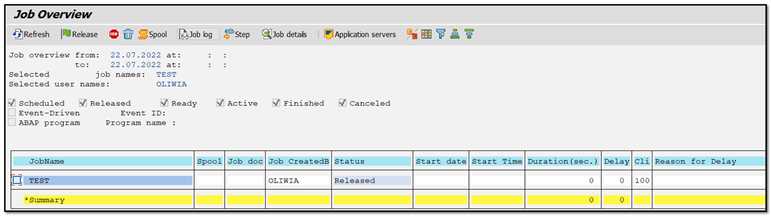
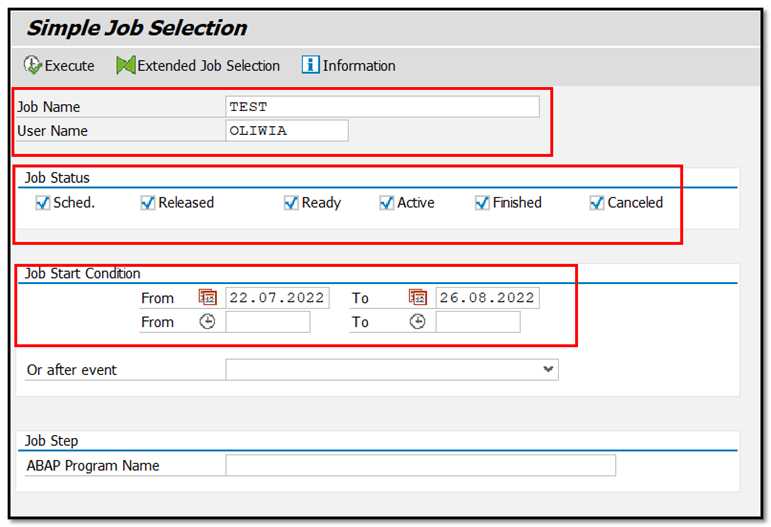
Step 14: To find out the status of the job, go to SM37. Select your criteria for the job which you want to monitor.
- Put your job name and username who scheduled the job.
- Select the status of the job.
- Specify the date range. In our scenario, we just specify the start date while keeping To Date open.
Step 15: You'll see the screen below. If you look at the status, released indicates that the requirements for starting the task have been completed, and the job is waiting in line for the background work procedure to be finished.